NoteBook
Kubeflow Notebooks provides a way to run web-based development environments inside your Kubernetes cluster by running them inside Pods.
Key Features
- Native support for popular IDEs: Currently supports JupyterLab, with RStudio and Visual Studio Code integrations coming soon.
- Cluster-based notebook containers: Users can create and run notebook environments directly within the cluster, eliminating the need to run notebooks locally.
- Standardized notebook images: Administrators can provide pre-built notebook images containing the required libraries and dependencies tailored to the organization’s needs.
- Access control via RBAC: Notebook access and sharing are managed through Kubeflow’s Role-Based Access Control (RBAC), ensuring secure and flexible collaboration.
Detailed Steps
-
Before we start using the Notebook, please open the kubeflow central dashboard in your browser.
-
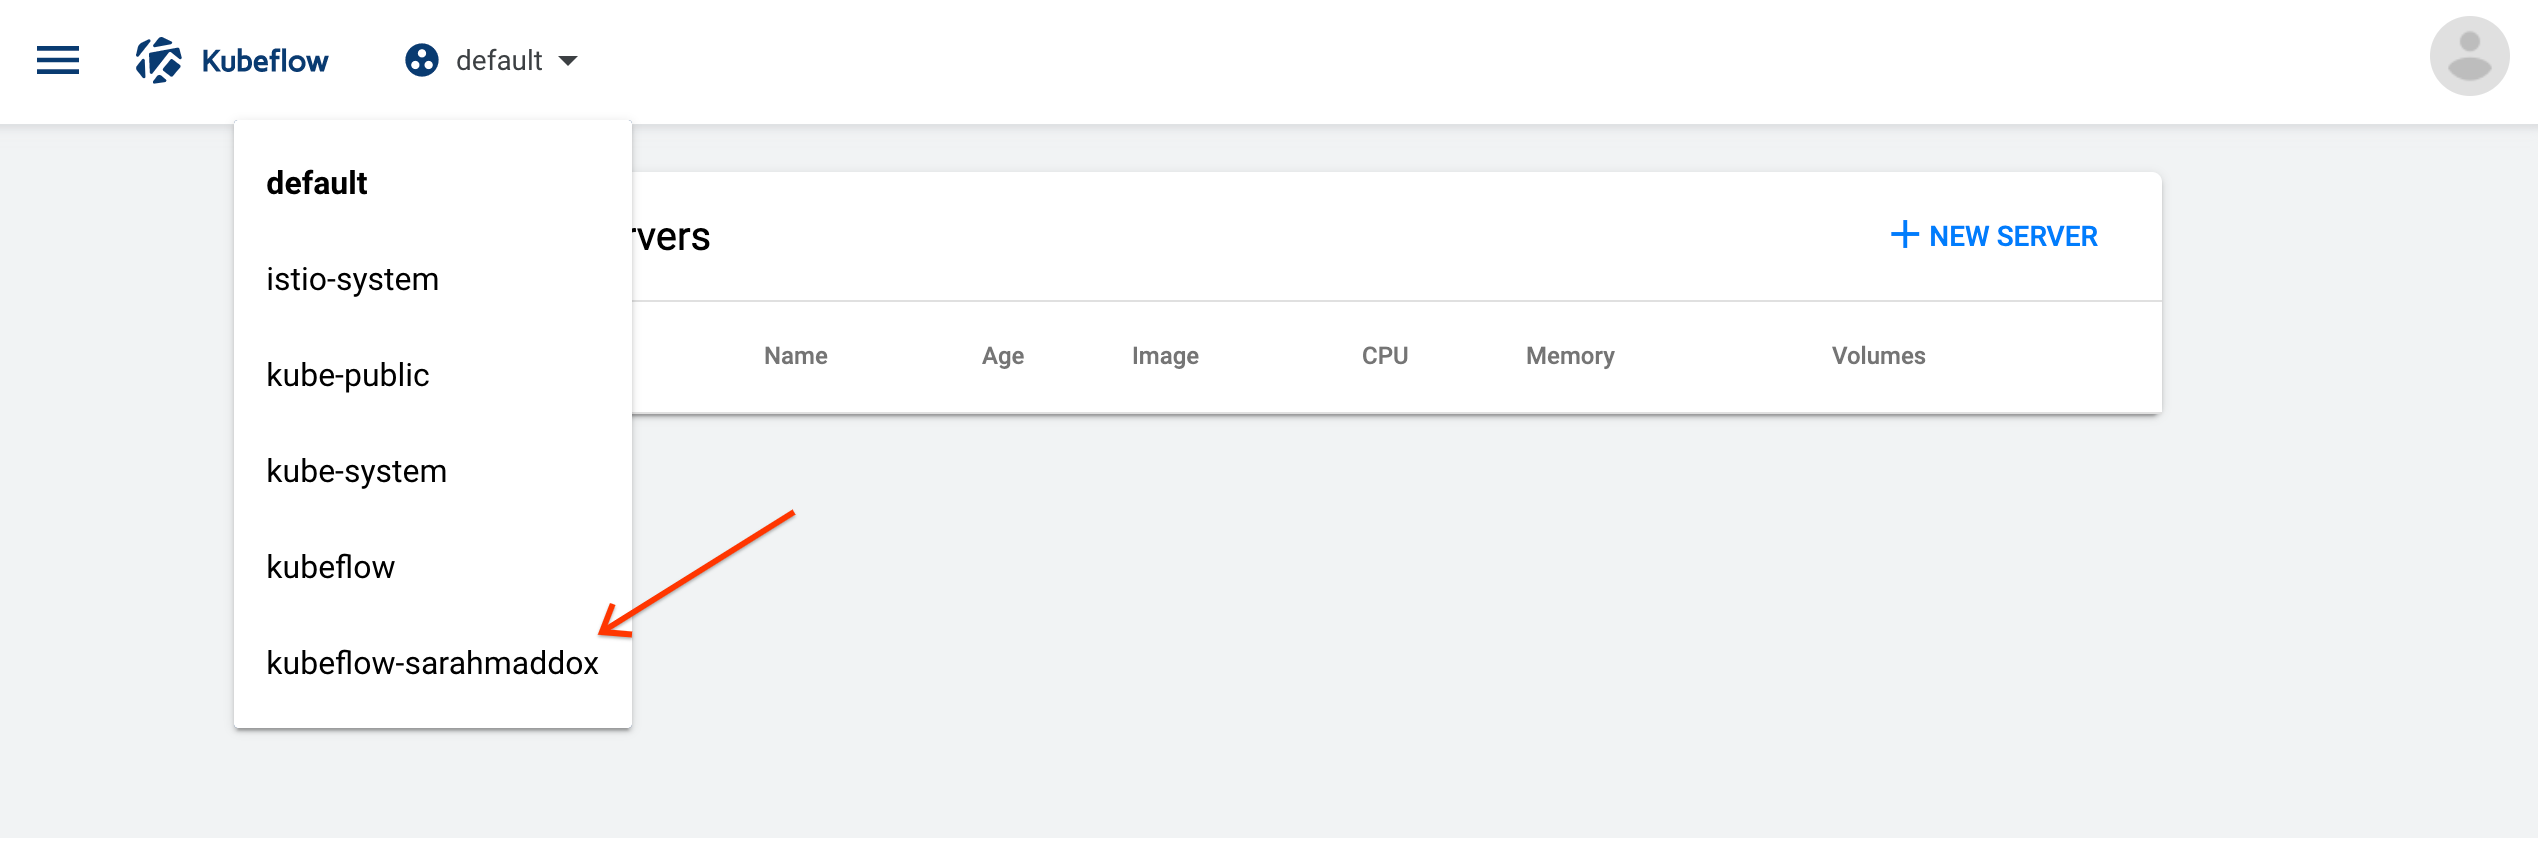
Select a Namespace:
- Click the namespace dropdown to see the list of available namespaces.
- Choose the namespace that corresponds to your Kubeflow Profile.
-
Click
Notebook Serversin the left-hand panel: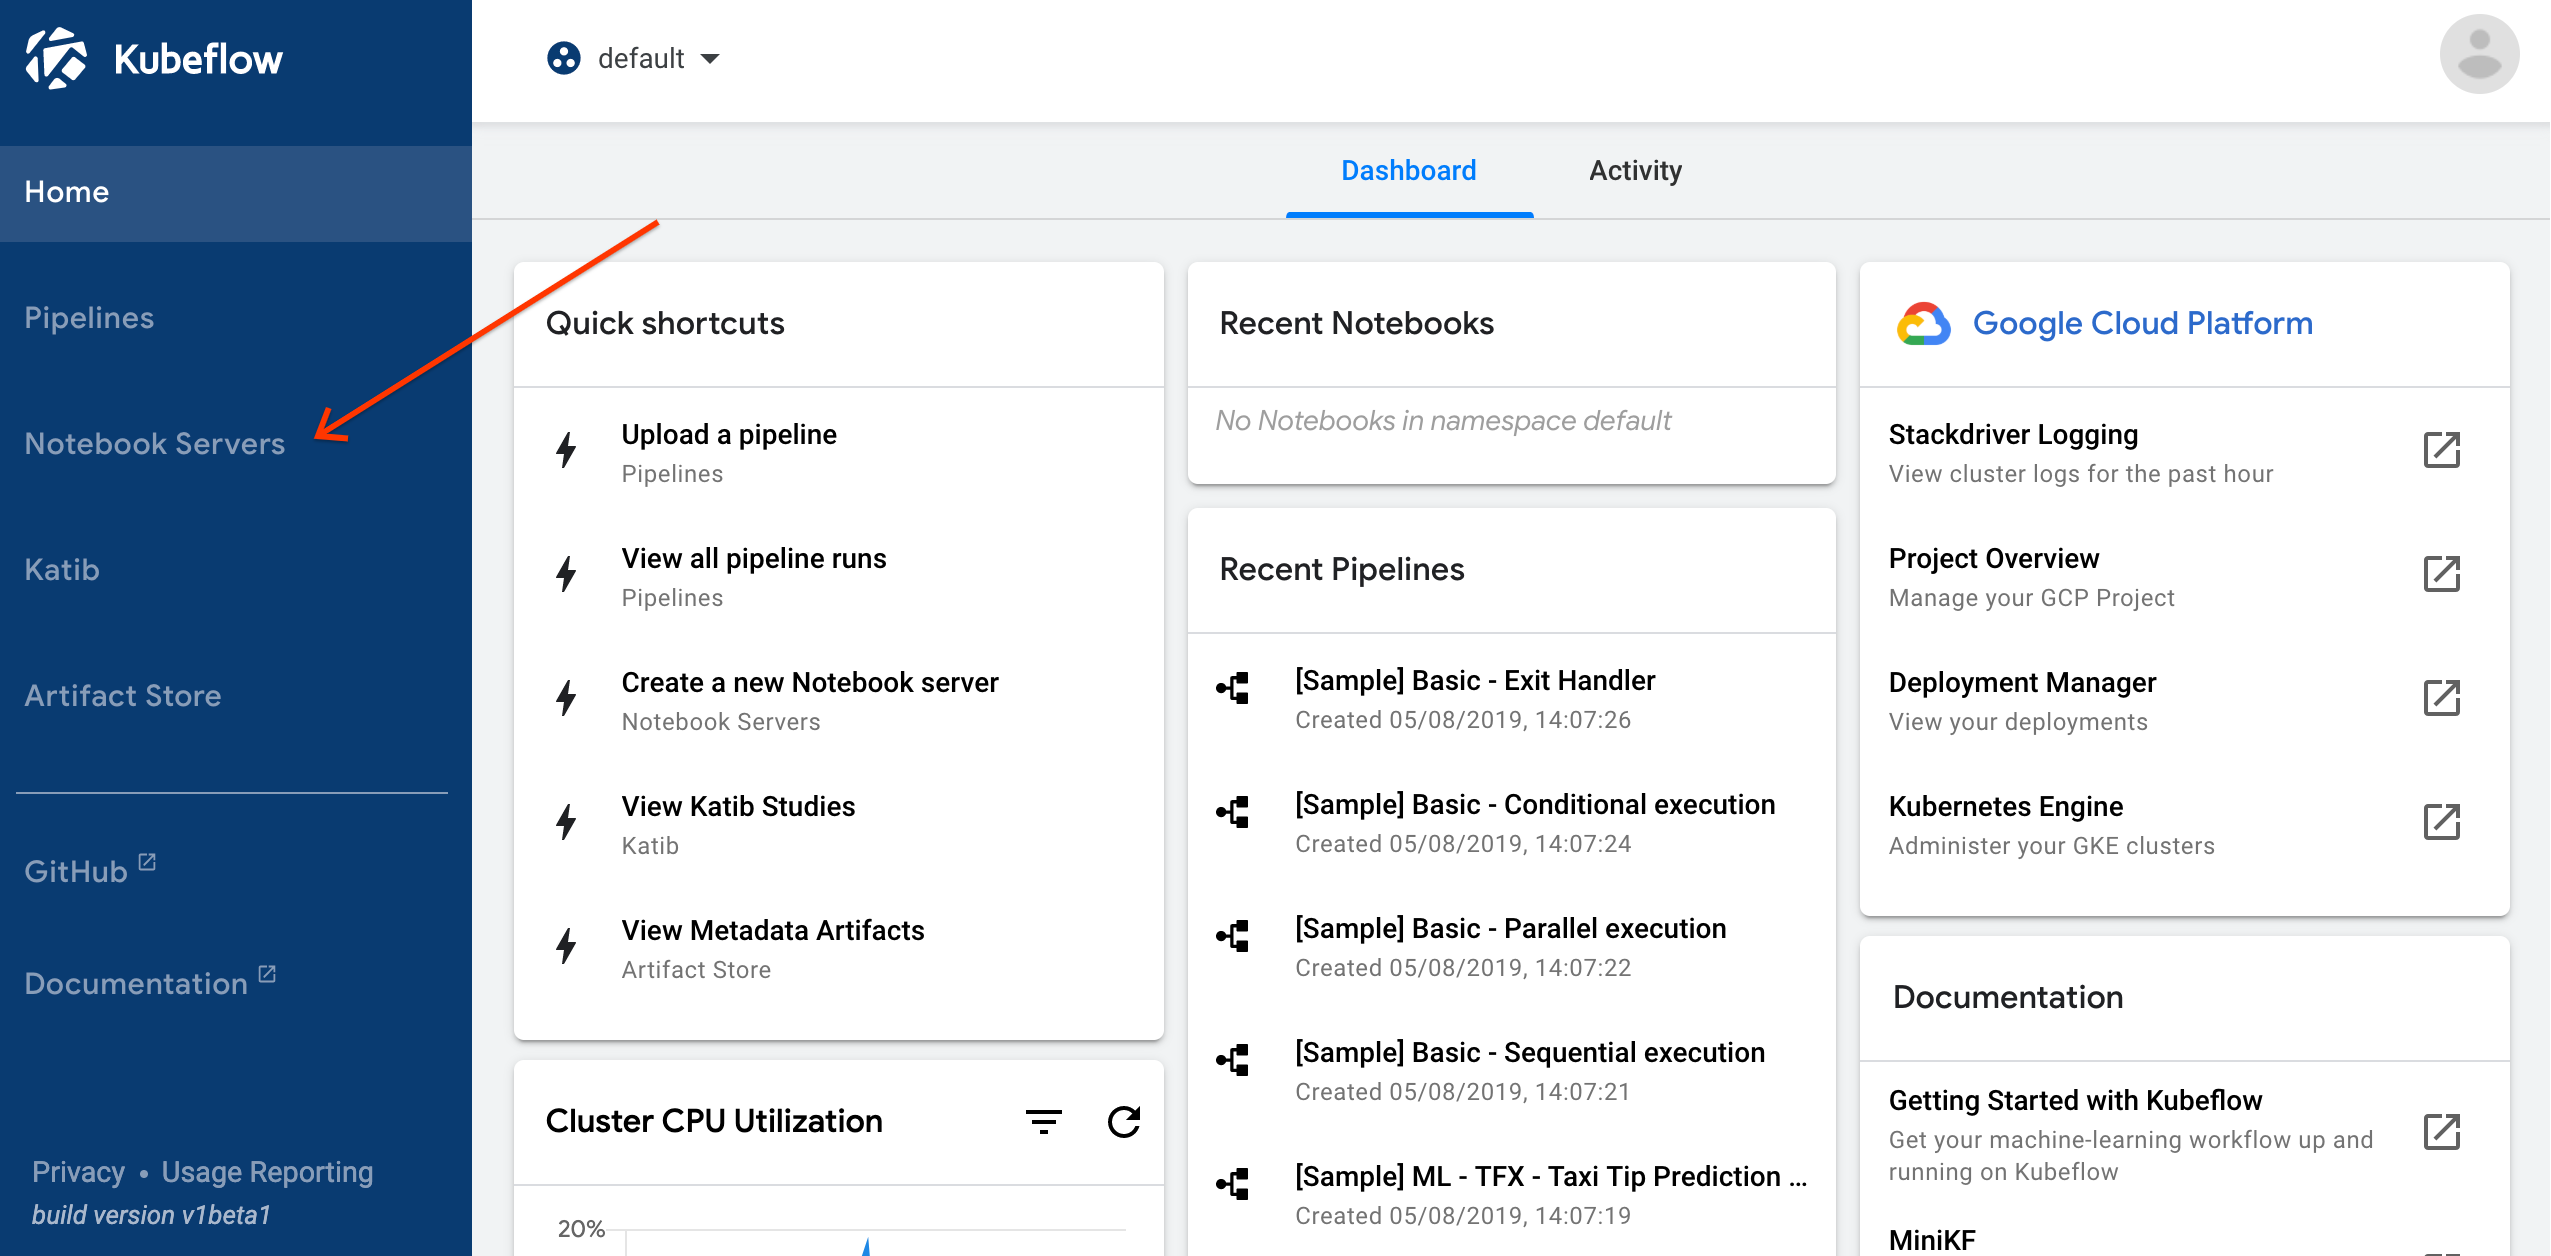
-
Click
New Serveron theNotebook Serverspage: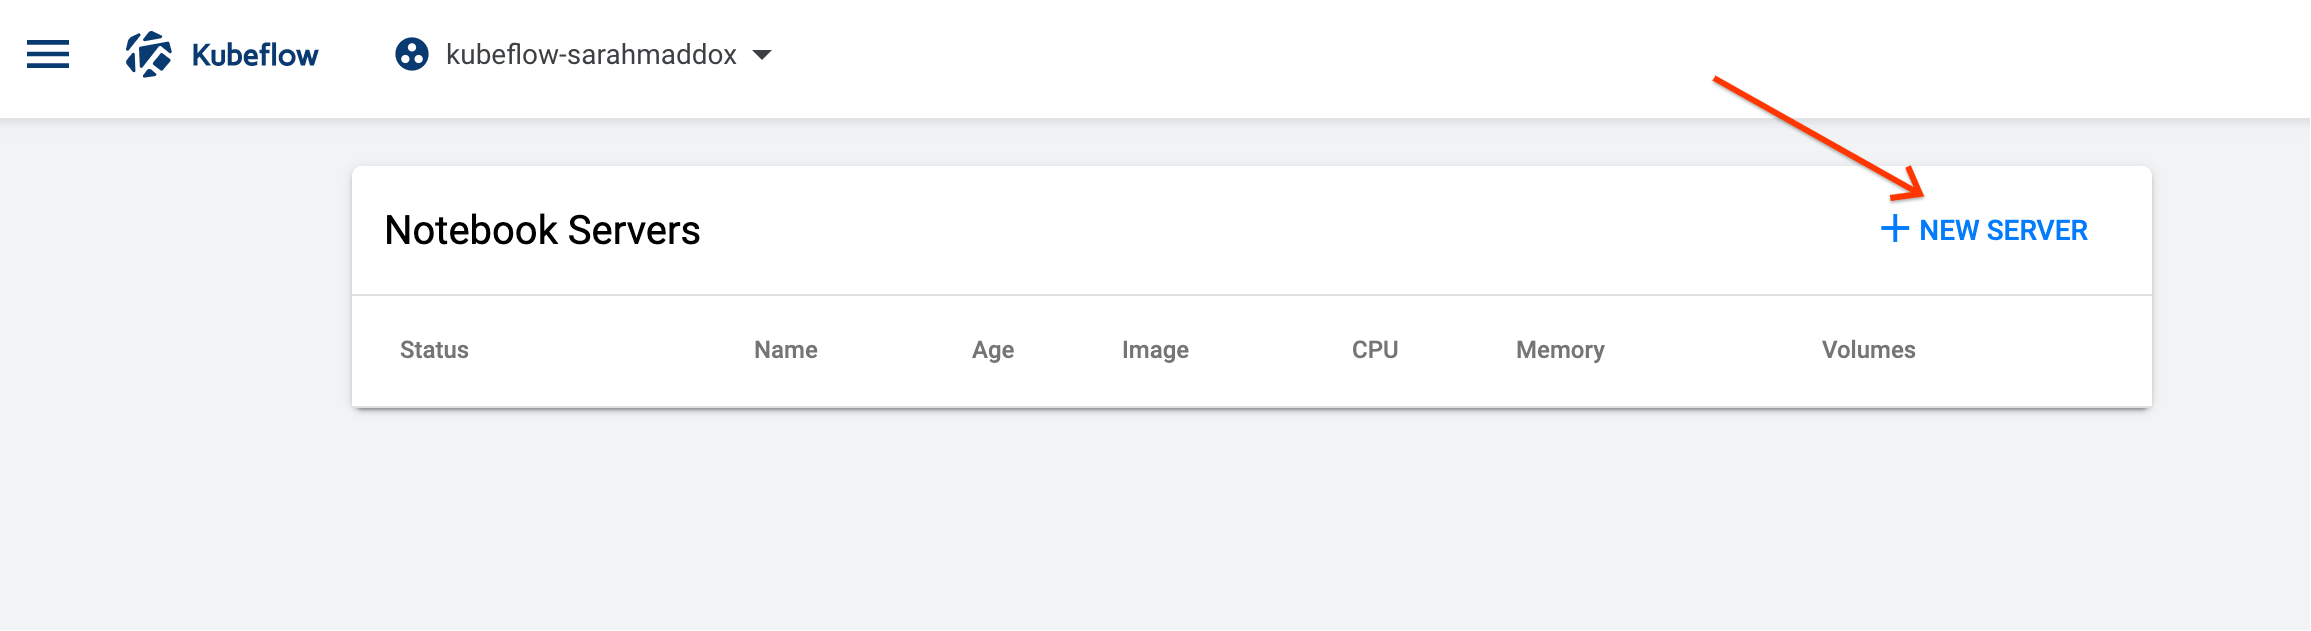
-
Enter a “Name” for your notebook server.
- The name can include letters and numbers, but no spaces.
- For example,
my-first-notebook.
-
Select a Docker Image:
- Custom image: If you select the custom option, you must specify a Docker image in the form registry/image:tag. (See the guide on container images.)
- Standard image: Click the “Image” dropdown menu to see the list of available images. (You can choose from the list configured by your Kubeflow administrator)
-
Specify the Amount of CPU:
Specify the amount of “CPU” that your notebook server will request.For the testing stage, the amount of CPU is fixed.
-
Specify the amount of RAM:
- Define the amount of RAM your notebook server will request.
-
Configure Workspace Volume:
- Specify only ONE workspace volume to mount as Persistent Volume Claim (PVC) on your home directory.
dangerThe default value of home directory is
/home/jovyan/. Do not change this value unless you fully understand the implications. -
(Optional) Configure Data Volumes
- Optionally, specify one or more data volumes to mount as additional PVCs.
-
(Optional) Specify GPU:
- Choose the number of GPUs your notebook server will request.
- By default, selecting None will put you in shared GPU mode.
- To exclusively occupy entire X GPU, select X.
-
Sepecify the Advanced Settings
tipIt is recommended to enable shared memory by default unless you fully understand the implications of disabling it.
- Enable the shared memory
- Specify Shared Storage and GPU Affinity
- Expand the
Configurationssection.- Enable the option
Mount Shared Public Directoryto access shared storage (/home/jovyan/huggingface/and/home/jovyan/public-data). - Select the GPU type based on your workload:
- RTX 3080
- RTX 4090 (recommended for most use cases)
- Enable the option

-
Click
LAUNCHto create a new Notebook CRD with your specified settings.- You should see an entry for your new notebook server on the “Notebook Servers” page
- There should be a spinning indicator in the “Status” column.
- It can take a few minutes for kubernetes to provision the notebook server pod.
- You can check the status of your Pod by hovering your mouse cursor over the icon in the “Status” column.
-
Click
CONNECTto view the web interface exposed by your notebook server.