Tensorboards and Volumes
Tensorboards
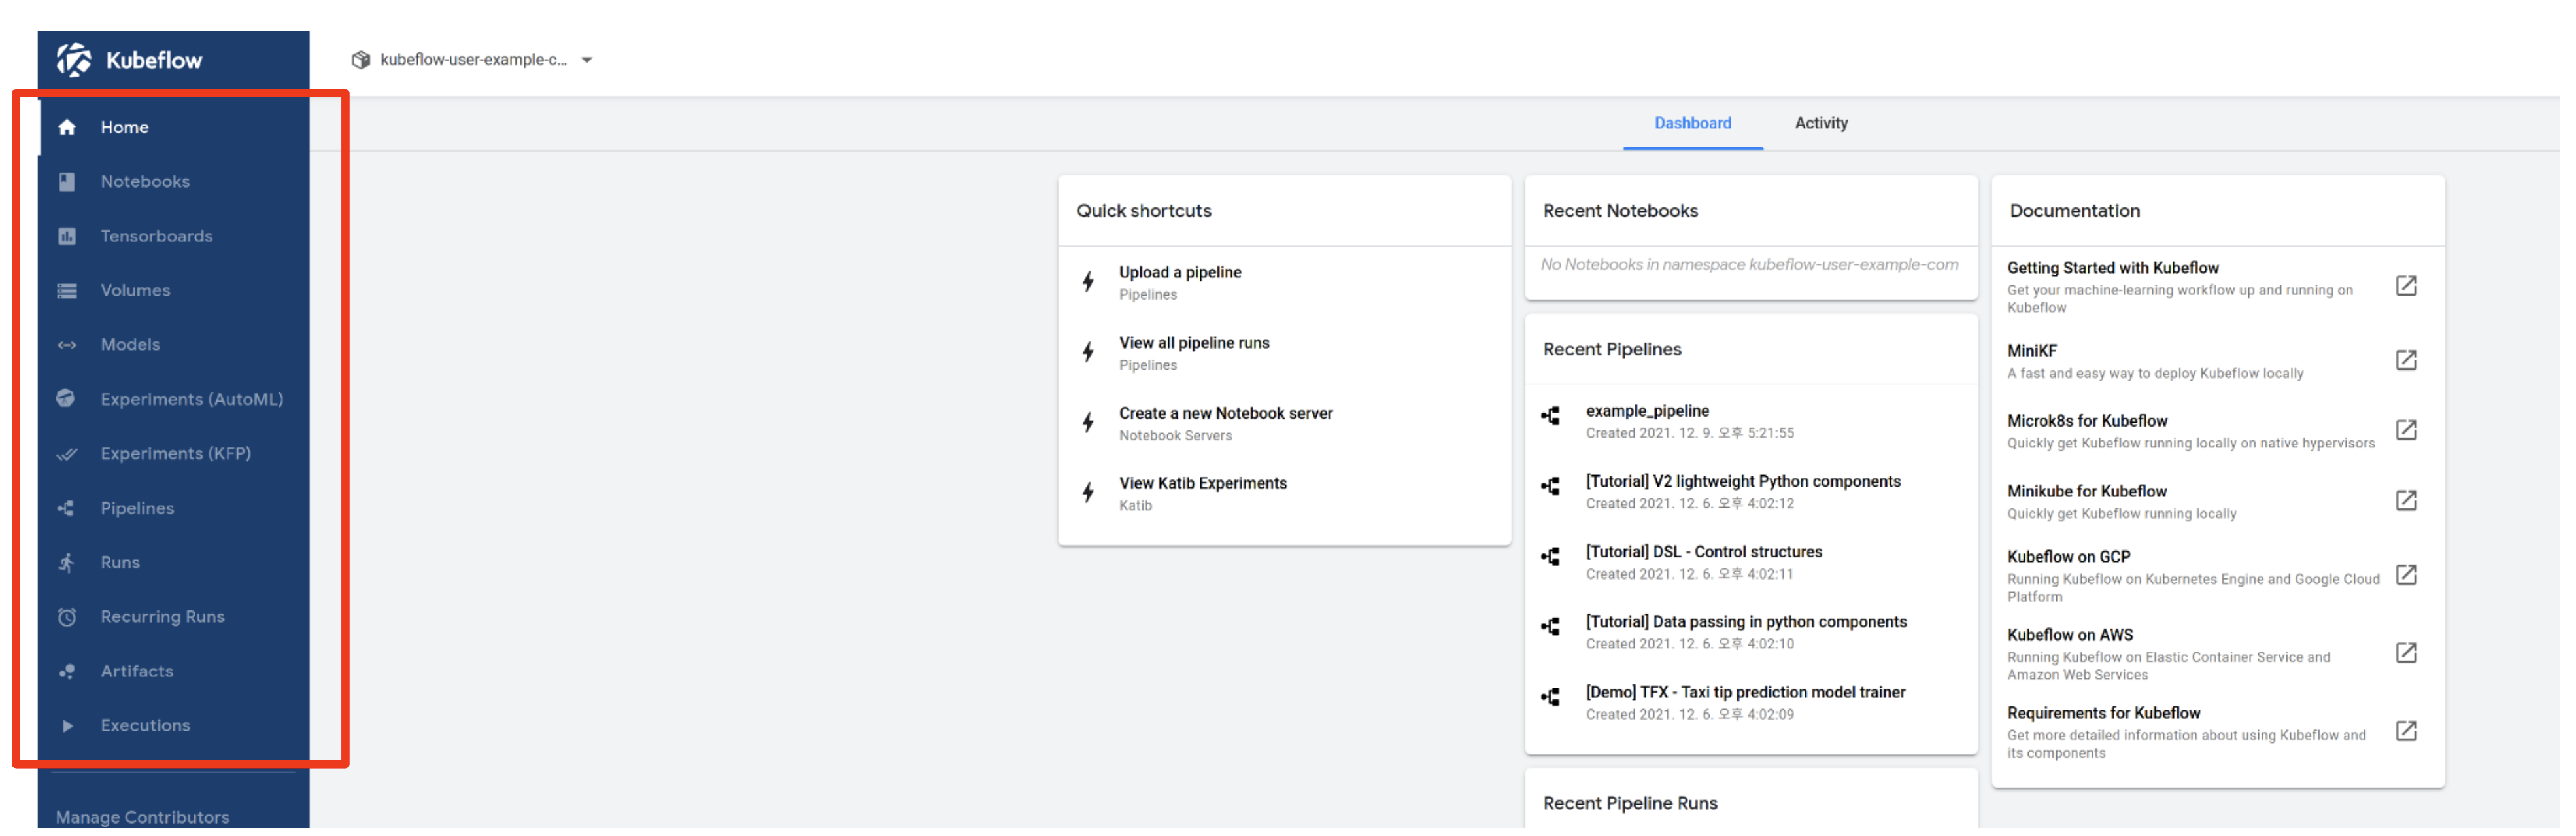
Click on the Tensorboards tab in the left-hand menu of the Central Dashboard.
The TensorBoard server created in this way can be used just like a regular remote TensorBoard server. It can also be connected to Kubeflow Pipelines to automatically visualize training logs or metrics stored in shared volumes.
Volumes
Next, click on the Volumes tab in the left-hand menu of the Central Dashboard.
You will see the following screen.
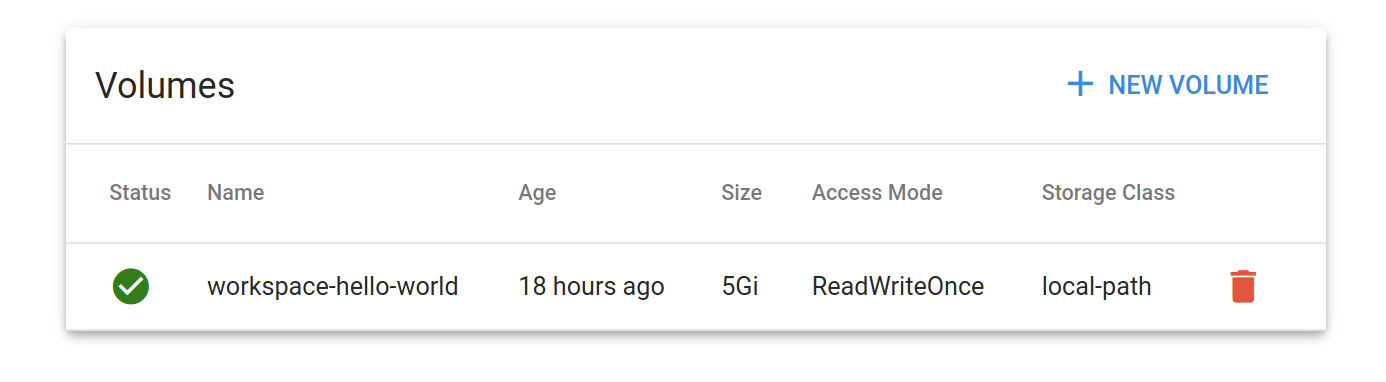
Volumes tab provides the functionality to manage the Persistent Volume Claims (PVC) belonging to the current user's namespace in Kubernetes' Volume (Volume).
In addition, the Volumes page can be used if you want to create, view, or delete a new Volume in the user namespace.
The created volume can be mounted on multiple containers, however it depends on the access modes you choose:
- ReadWriteOnce: the volume can be mounted as read-write by a single pod. ReadWriteOnce access mode still can allow multiple pods to access (read from or write to) that volume when the pods are running on the same pod. (⚠️ Not recommended)
- ReadOnlyMany: the volume can be mounted as read-only by many pods. (⚠️ Not recommended)
- ReadWriteMany: the volume can be mounted as read-write by many pods. (✅ Recommended )
Create a Volume
By clicking the + NEW VOLUME button at the top right, you can see the following screen.
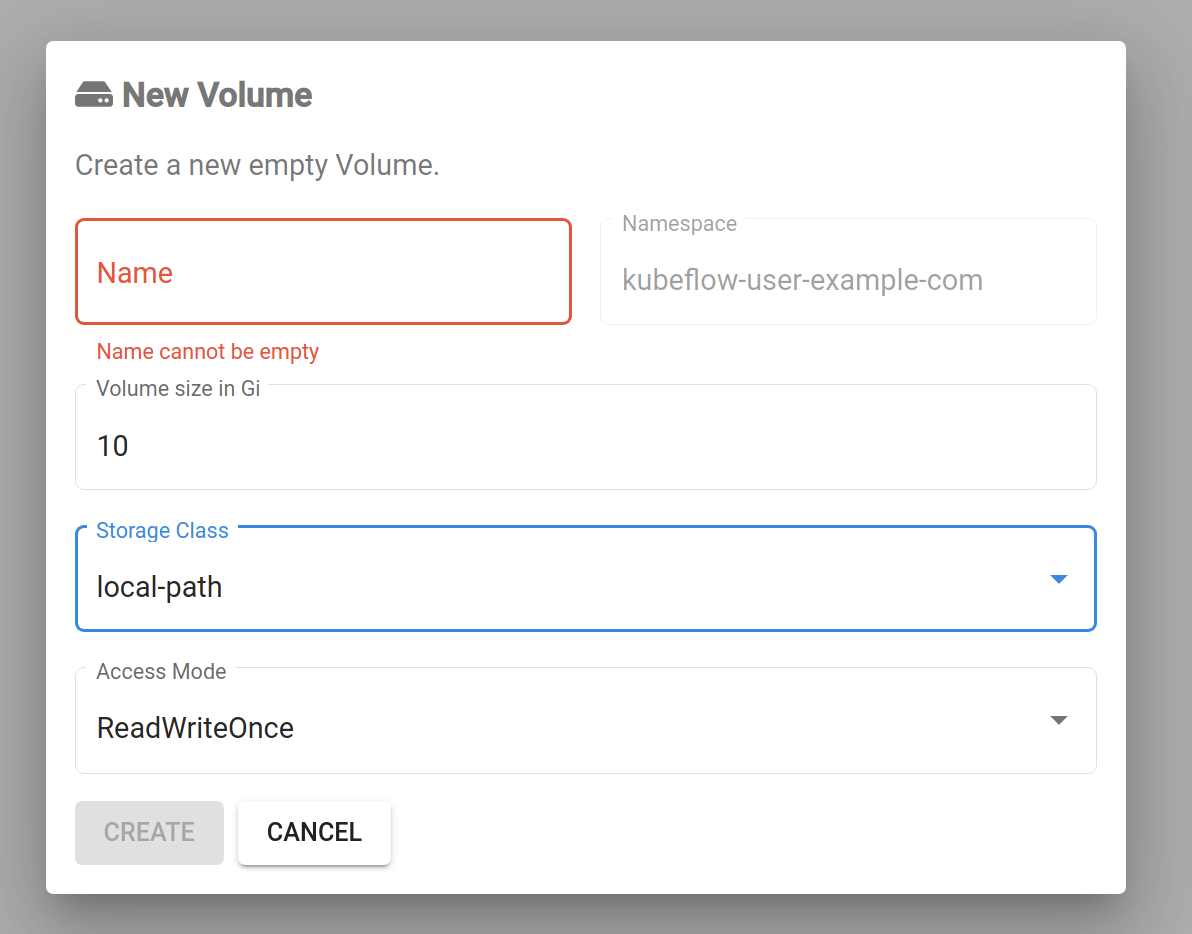
You can create a volume by specifying its name, size, storage class, and access mode.
When you specify the desired resource specs to create a volume, its Status will be shown as Pending on this page. When you hover over the Status icon, you will see a message that this (This volume will be bound when its first consumer is created.)
When the Status is shown as Pending on this page, you can still specify the name of the volume in the notebook server or pod that you want to use the volume and the volume creation will be triggered at that time.
If you delete a Notebook Server, the volumes (PVCs) you created or attached to it will not be deleted automatically.
These volumes are persistent by design and remain in your namespace until you explicitly delete them. This allows you to retain your data even after deleting a notebook server, enabling you to:
- Reuse the same volume when creating a new notebook server
- Share data across different notebooks or workloads
- Avoid unintentional data loss
Mounting a Volume to TensorBoard
Once you have created a volume (e.g., to store training logs), you can mount it to a new TensorBoard instance for visualization:
- Go to the Tensorboards tab.
- Click + NEW TENSORBOARD.
- Fill in the required fields:
- Name: A unique name for the TensorBoard server.
- Log Directory:
- Use the volume you created earlier. For example:
<your-volume-name>(the exact mount path depends on your setup or image)
- Under the Data Volumes section:
- Click Add Volume.
- Select the PVC you just created.
- Mount it to a path (e.g.,
/home/jovyan/.tensorboard-logs).
- Click Launch.
Once started, TensorBoard will read logs from the mounted volume and render training metrics, loss curves, and other summaries.
This action is irreversible. Make sure to back up any important data before deleting a volume.
If you no longer need a volume:
- Go to the Volumes tab in the left-hand panel.
- Locate the volume you want to delete.
- Click the trash bin icon next to it.
- Confirm the deletion.
Use Tensorboards after Experiment
-
Run the experiment, here is a example code:
import torch
import torch.nn as nn
import torch.optim as optim
from torch.utils.tensorboard import SummaryWriter

model = nn.Linear(1, 1)

criterion = nn.MSELoss()
optimizer = optim.SGD(model.parameters(), lr=0.01)
writer = SummaryWriter(log_dir='runs/simple_example')

x_train = torch.linspace(0, 10, 100).unsqueeze(1)
y_train = 2 * x_train + 1

for epoch in range(100):
    model.train()

    optimizer.zero_grad()
    outputs = model(x_train)
    loss = criterion(outputs, y_train)
    loss.backward()
    optimizer.step()

    writer.add_scalar('Loss/train', loss.item(), epoch)
    if epoch % 10 == 0:
        print(f"Epoch [{epoch}/100] Loss: {loss.item():.4f}")

writer.close() -
Go to the Tensorboards tab and click [New TensorBoard].
- Fill in the required information on the New Tensorboard screen, then click [Create].
- Choose the PVC that mounted on the home directory

-
After TensorBoard is created, it will appear in the list of active boards.
- Click the [CONNECT] button to open and view the TensorBoard instance.
- This will open a new tab where TensorBoard is running and reading logs from the specified log directory.