Quick-Start
Step 1: Log in to the Kubeflow Dashboard
Open the URL given to you (something like https://kubeflow.example.com). and log in using your username/password and you’ll land on the Kubeflow Central Dashboard.

Step 2: Create or Select a Namespace
-
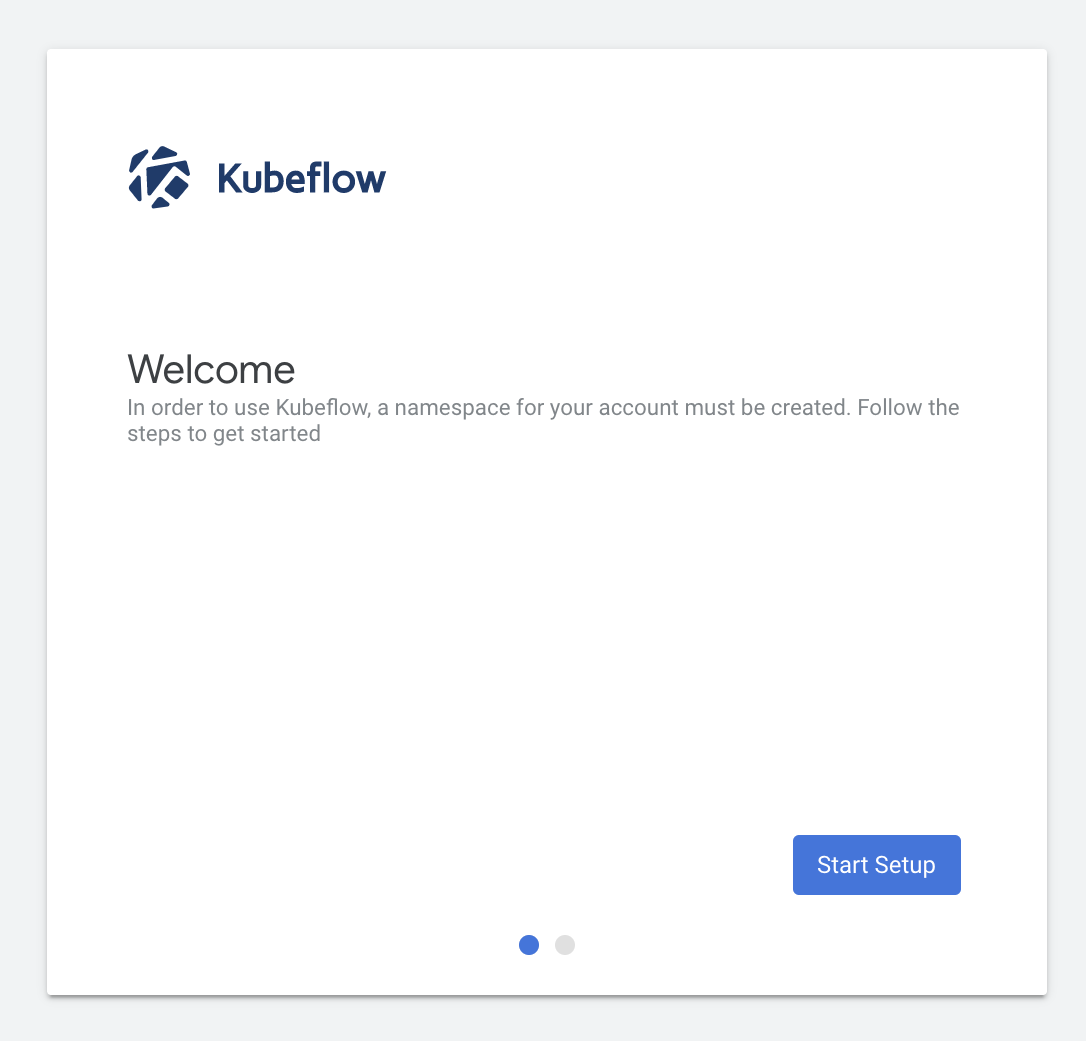
For the user who logs into Kubeflow for the first time, you may see the pop-up window below:
-
Click the button with
Start Setupand type the name you want: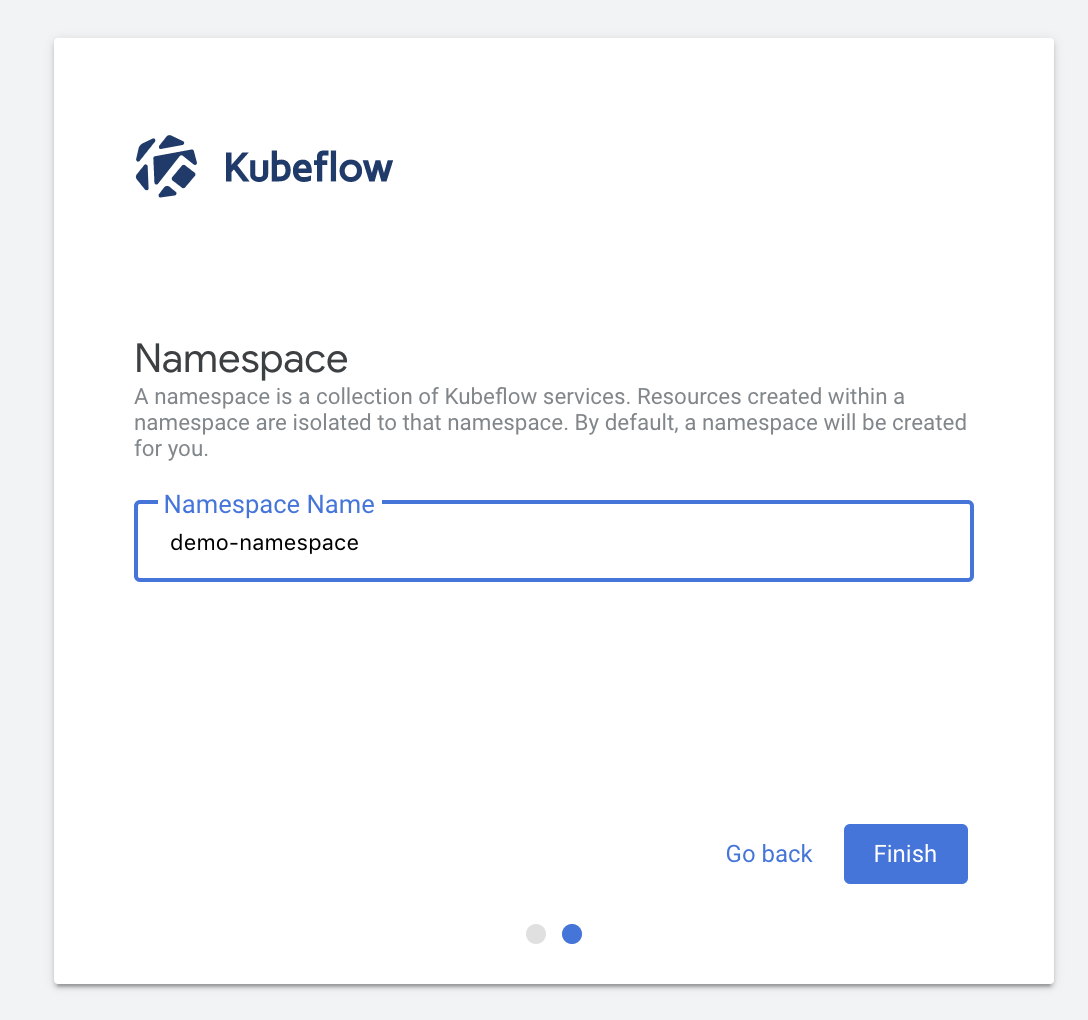
Step 3: Create a New Notebook
On the left side menu, click "Notebooks"
You’ll see a list of existing notebooks (or an empty screen if you have none)
step 1. Change the Notebook Name, e.g. notebook |  |
| step 2. Change the Size and Access Mode |  |
Step 3. Expand the dropdown and choose the Mount Shared Public Directory and change the affinity to RTX 4090D Nodes |  |
After all the configuration, click LAUNCH.
Step 4: Connect to the Notebook
Once the notebook is running, You’ll see a green “Running” badge. Click “Connect” to open your Jupyter Notebook
✅ You now have a live Jupyter Notebook running on Kubeflow!
